You spent hours scrolling through Instagram reels, dreaming of sun-kissed strands. But your last at-home attempt left you with brassy, brittle hair that looked more patchy than polished. And the salon quote? Nearly half your rent. The frustration is real—especially when “easy” kits promise salon results but deliver disaster. Here’s how to actually get flawless hair dye highlights that last, without frying your ends or emptying your wallet.
Why Most hair dye highlights Go Wrong (Even With Premium Kits)
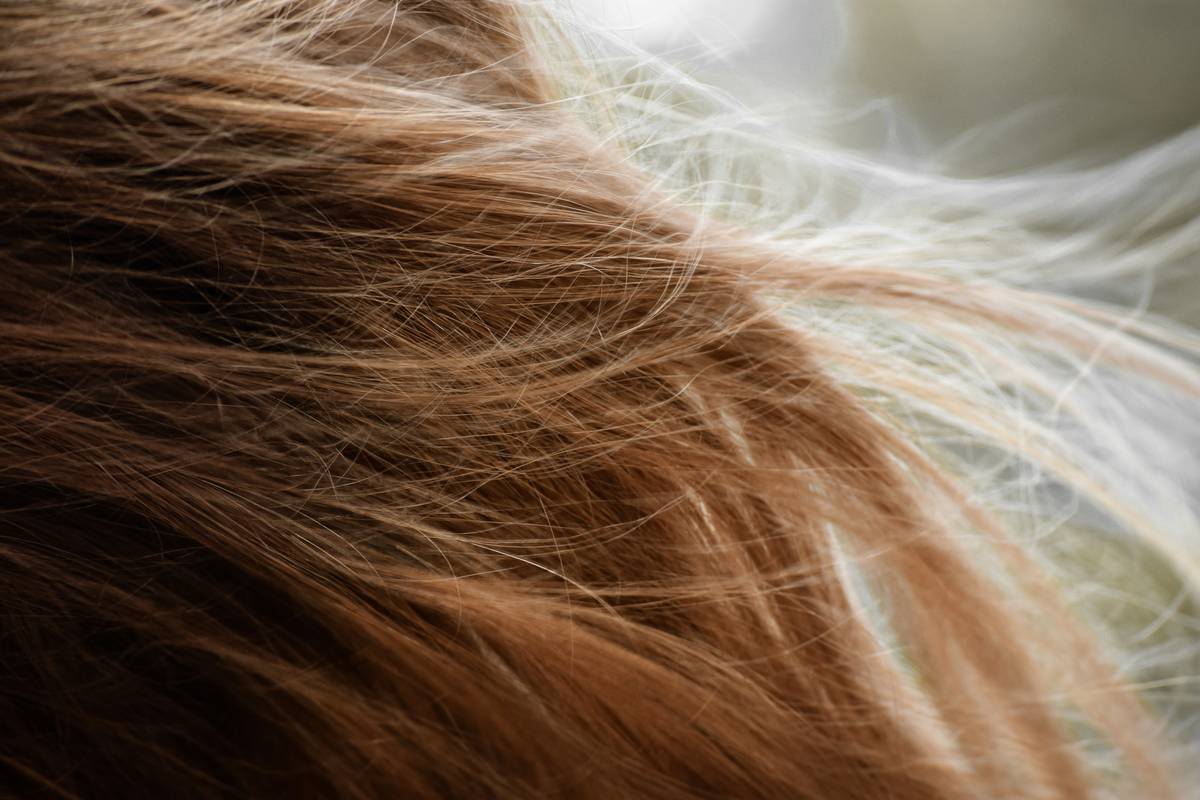
Most people think highlights = lightener + time. Wrong. The real issue? Overprocessing from misunderstanding porosity. Fine or already-bleached hair absorbs developer faster—leading to orange streaks in 8 minutes flat. Coarse or low-porosity hair? It resists lightening, causing uneven lift and muddy tones. And let’s be honest: those “universal” instructions on boxes assume every head of hair reacts the same. It doesn’t.
Salons succeed not because they use magic potions—but because they *map* your hair’s behavior zone by zone. Skip this, and you’re gambling with breakage.
Your Step-by-Step Guide to Salon-Quality hair dye highlights at Home
Forget one-size-fits-all timelines. This method adapts to your hair’s unique structure.
Prep Like a Pro: Strand Test + Section Strategy
Always do a strand test 48 hours before. Apply your chosen lightener mix to a hidden section near your nape. Check every 2 minutes after minute 5. Note when it hits level 8 (light blonde)—that’s your max processing window.
Choose Your Weapon: Foil vs. Cap vs. Balayage Brush
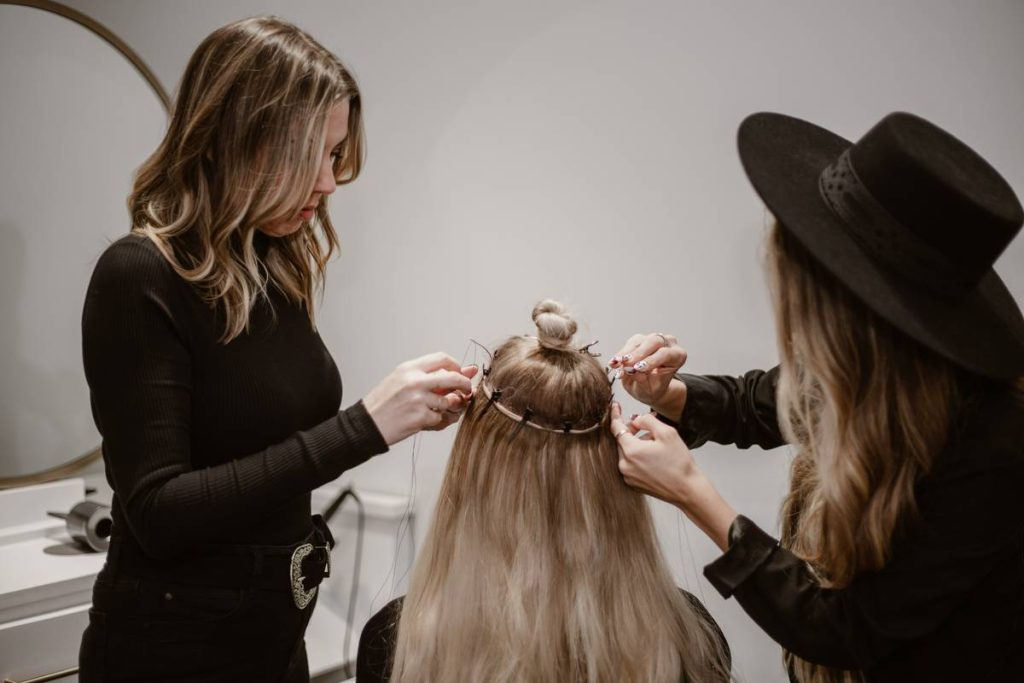
Foils give precision but require patience. Caps work only if your hair is straight and fine. Balayage brushes? Great for face-framing pieces—but terrible for all-over dimension unless you’ve practiced.
Timing Is Everything—Literally
Apply lightener starting at the mid-lengths—not roots. Roots process 30% faster due to scalp heat. Work in small sections (½ inch wide). Set a timer based on your strand test, then check early. Pull foils off one by one as they peak—not all at once.
| Method | Best For | Avg. Cost | Risk of Damage |
|---|---|---|---|
| Foil Highlights | Full-head dimension, gray coverage | $25–$45 | Moderate (if overprocessed) |
| Balayage (Freehand) | Natural grow-out, low maintenance | $20–$40 | Low (when done correctly) |
| Cap Highlights | First-timers with straight hair | $15–$25 | High (tangles, uneven pull-through) |
The Industry Secret: Toners Are Non-Negotiable
Here’s what salons won’t advertise: the highlight itself isn’t blonde—it’s yellow-orange. The magic happens in toning. Skip this, and you’ll chase brassiness for weeks. Use a violet-based toner (like Wella T18) diluted 50/50 with conditioner if your base is warm. Leave on for 3–7 minutes max. Rinse with cool water. This single step turns DIY disasters into credible results. And no—purple shampoo isn’t a substitute for a proper toner immediately post-lighten. The math is simple: neutralize now, or fight brass later.
Frequently Asked Questions
Can I do hair dye highlights on previously colored hair?
Yes—but only if it’s permanent dye (not henna or metallic). Wait 2+ weeks after coloring. Always strand test first; buildup can cause unpredictable lift.
How long do at-home hair dye highlights last?
4–8 weeks, depending on wash frequency and sun exposure. Use sulfate-free shampoos and UV-protectant sprays to extend vibrancy.
Should I highlights my roots or mid-lengths first?
Mid-lengths. Roots lighten faster due to body heat. Applying lightener there first guarantees overprocessing and breakage at the scalp line.