Few things sabotage confidence faster than flat, one-dimensional hair color. You walk out of the salon hoping for sun-kissed dimension—only to find harsh lines, brassy tones, or roots screaming for touch-ups in three weeks. The problem isn’t your stylist. It’s the technique. Enter balayage highlights: a hand-painted method that mimics how the sun naturally lightens hair. No foils. No rigid patterns. Just seamless, living-in-a-beach-house energy—any season, any texture.
The Hidden Flaw in Traditional Highlighting Methods
Foils create contrast—yes—but they also create maintenance nightmares. Grow out an inch? You’ve got a zebra stripe. And cap highlighting? It chops off movement, leaving hair looking like it was dipped in bleach from the ears down. Both techniques treat hair like a canvas to be covered—not a landscape to be enhanced.
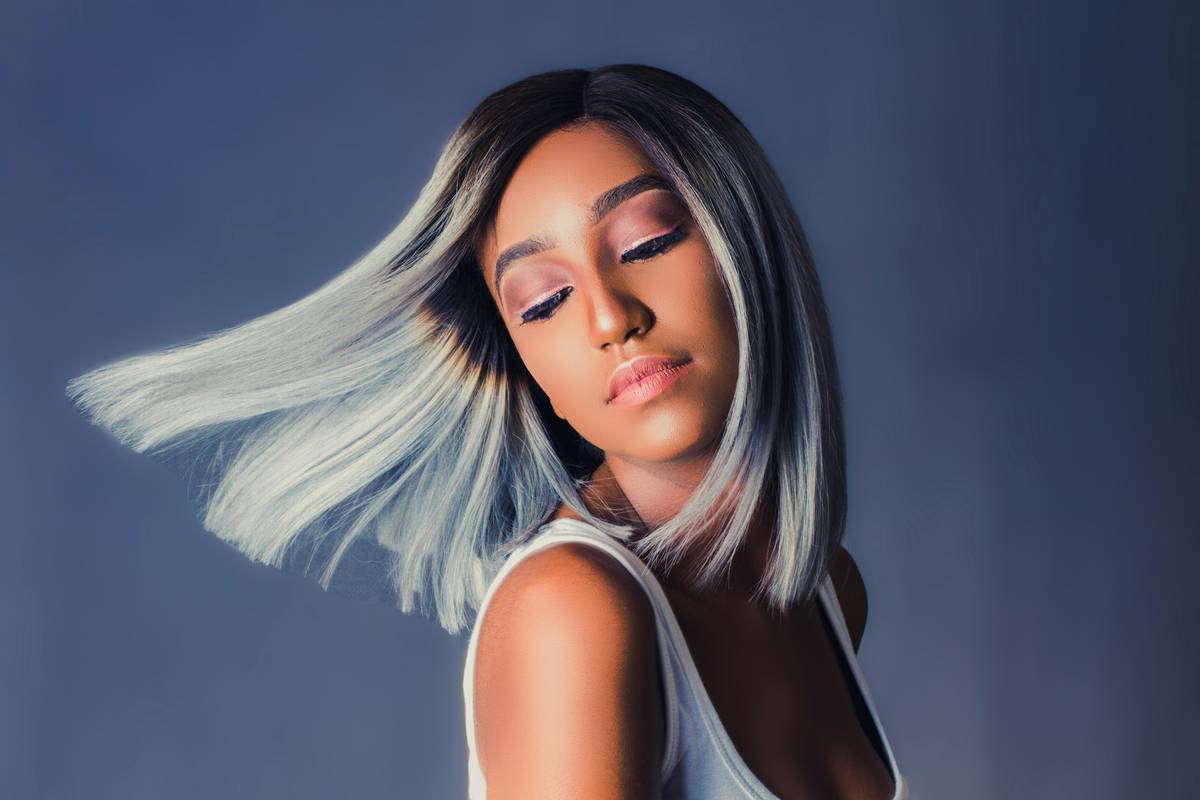
Balayage highlights sidestep this by design. They’re placed where light actually hits: mid-lengths to ends, sometimes flicking upward near the face. The result? Depth without drama. Dimension without damage. But—and this is critical—it only works if your colorist understands hair physics.
Your Step-by-Step Guide to Perfect Balayage Highlights
Getting balayage right isn’t about slapping on bleach and praying. It’s precision choreography between product, placement, and porosity.
Pre-Treatment Assessment: Porosity Is Everything
High-porosity hair drinks up lightener like a sponge—often turning orange before you blink. Low-porosity strands resist, leading to patchy results. A skilled artist tests a tiny strand first. No test? Walk out.
Custom Lightener Mix: Not All Bleaches Are Equal
Drugstore kits use 40-volume developers for “maximum lift.” That’s overkill for balayage. Pros blend lower-volume developers (10–20) with bond-builders to protect integrity while achieving soft, gradual lightening.
Freehand Painting Technique: Less Is More
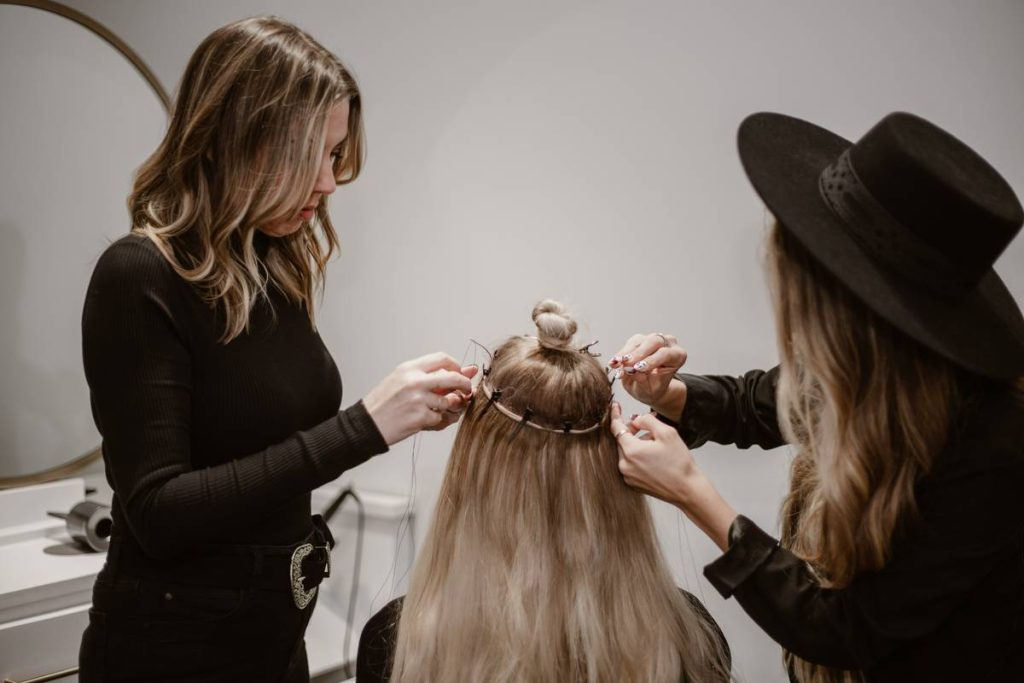
The brush strokes matter. Too thick, and you get chunky streaks. Too sparse, and it disappears. The sweet spot? Fine, tapered sweeps that follow the hair’s natural fall. Think watercolor—not house paint.
| Technique | Upfront Cost | Maintenance Frequency | Natural Look Score (1–10) |
|---|---|---|---|
| Foil Highlights | $80–$150 | Every 4–6 weeks | 5 |
| Cap Highlights | $60–$100 | Every 5–7 weeks | 3 |
| Balayage Highlights | $120–$220 | Every 10–16 weeks | 9 |
| Ombre | $100–$180 | Every 8–12 weeks | 7 |
The Industry Secret Most Salons Won’t Tell You
Here’s the reality: true balayage isn’t just about technique—it’s about restraint. Many stylists over-process to show “results” fast. But authentic balayage should never lift more than two levels in one session unless the hair is virgin and coarse. Why? Because the magic lives in subtlety. A client came to me last winter—dark base, wanted golden balayage highlights. Instead of blasting her with 30-volume, we did two gentle sessions spaced six weeks apart. The outcome? A luminous, multidimensional finish that grew out invisibly. Her friends swore she’d vacationed in Santorini. She hadn’t left Chicago. That’s the power of patience—and pigment control.
Frequently Asked Questions
Can balayage highlights work on short hair?
Absolutely—if done strategically. On bobs or pixies, focus placement around the face and crown. Avoid saturating the nape; it ages the look.
How long do balayage highlights last?
Visually? 3–4 months. Chemically? Indefinitely—they grow out seamlessly unlike foils. Touch-ups are optional, not urgent.
Are balayage highlights damaging?
Less than most methods—when executed properly. The freehand approach minimizes scalp exposure and allows for targeted, lower-volume processing.